

Getting Started
Set up your Tradeways profile and first trading account, choose a currency, add optional goals, and import your trades. Follow the guided setup and product tour.
Getting Started
Tradeways opens a guided setup after you activate your account. It prepares the first trading account before you enter the main workspace.
Activate your account
After a paid checkout, Tradeways confirms the payment and asks you to verify your email when required. Create a password for a new account, or sign in if the email already belongs to an account. Select Open Tradeways to continue to the app.
A guest-pass link opens the Tradeways website and shows the plan, access period, and Free. No card is required. Enter your email, verify the six-digit code sent to that address, accept the current terms, and redeem the pass. Then create a password or sign in and select Open Tradeways.
If an activation link is incomplete or no longer valid, enter the checkout email to request a new setup link. If activation is still processing, wait for the setup email before requesting another link.
Guided setup
Setup has six steps. The panel on the left lists the steps and shows your position. Back returns to the previous step. You can also select a step you already completed.
You can close the setup with Skip setup. Tradeways records the skip and does not open the setup again.
1. Welcome
Enter the name that Tradeways should show. Select Get started.
2. Profile
Select the markets you trade: Stocks, Futures, Forex, Crypto, or CFDs. Then select your experience level. These choices set defaults across the app. You can continue without a selection, and you can change both later.
3. Account
Give the account a clear name. Use a name that distinguishes the broker, environment, or strategy. A name is required to continue. Select the settlement currency.
You can also add a starting balance. This value is optional. It is required for percentage returns, account equity calculations, and goals. You can add or correct it later in account transactions.
Tradeways creates the first account before this setup opens. This step updates that account. It does not create a second account.
4. Goal
Goals are optional. You can add up to 10 goals during setup. Select what to track — Net P&L, Max daily loss, Win rate, or Trading days — then set the target and the timeframe. Timeframes are Total or Monthly, depending on the goal type. A goal needs a starting balance on the account step.
Tradeways can suggest prop-firm targets and limits when the account name and starting balance match a supported rule set. Review every suggested value before you apply it. Returning to the account step and changing the name or the starting balance removes an applied prop-firm goal, because its limits come from those values. Changing the currency removes every goal you added.
5. Trades
Select Import my trades to finish setup and open the import flow at once. Select Explore first to continue with the sample account and import later.
6. Done
This step appears only after Explore first. Import my trades completes setup at the previous step.
The summary shows your markets, the account name and currency, the starting balance, and your goals. Review it, then select Enter Tradeways.
Product tour
After setup, Tradeways starts a guided tour on desktop. It walks the dashboard, trade log, journal, strategies, the Add trades button, the dashboard switcher, and the account switcher. The tour runs on the demo account. The last card switches you to your own account.
To run the tour again, open Settings, select Getting started, and select Replay product tour. The same page resets the demo account to fresh sample data.
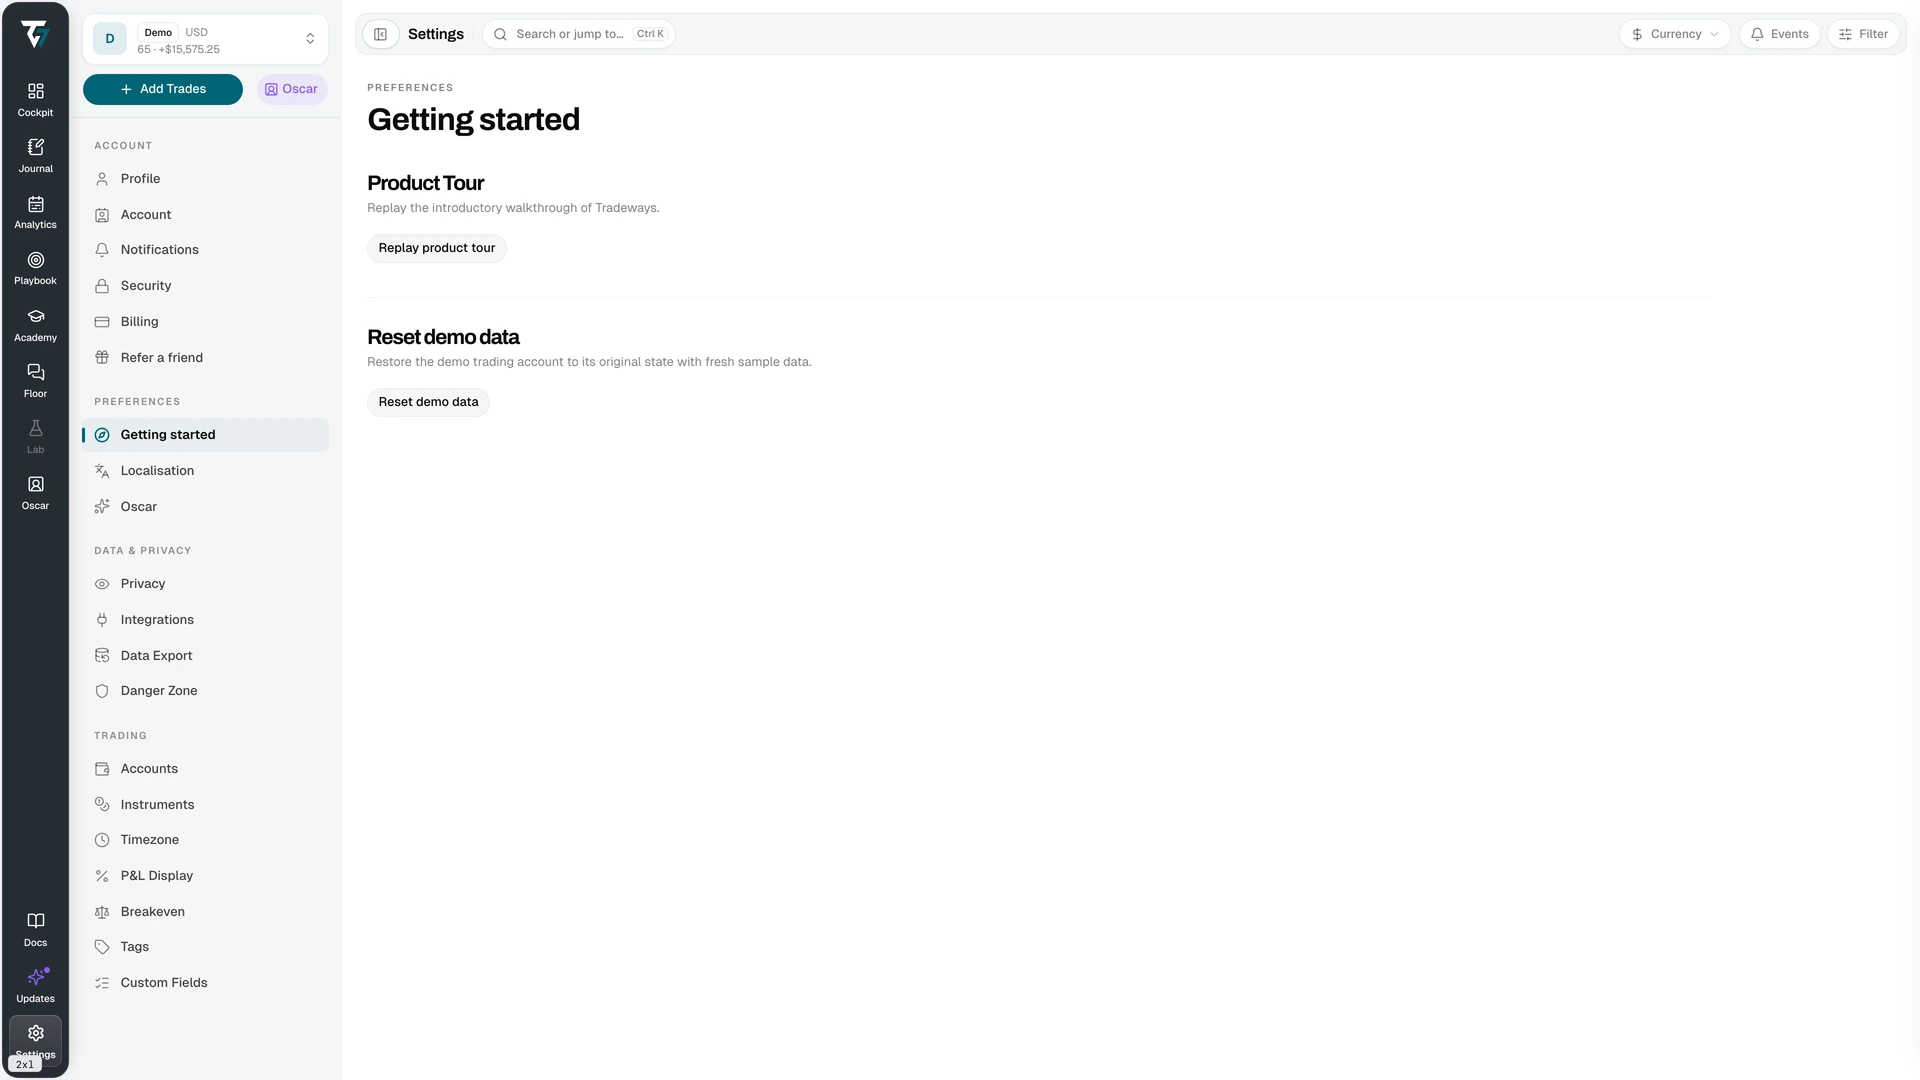
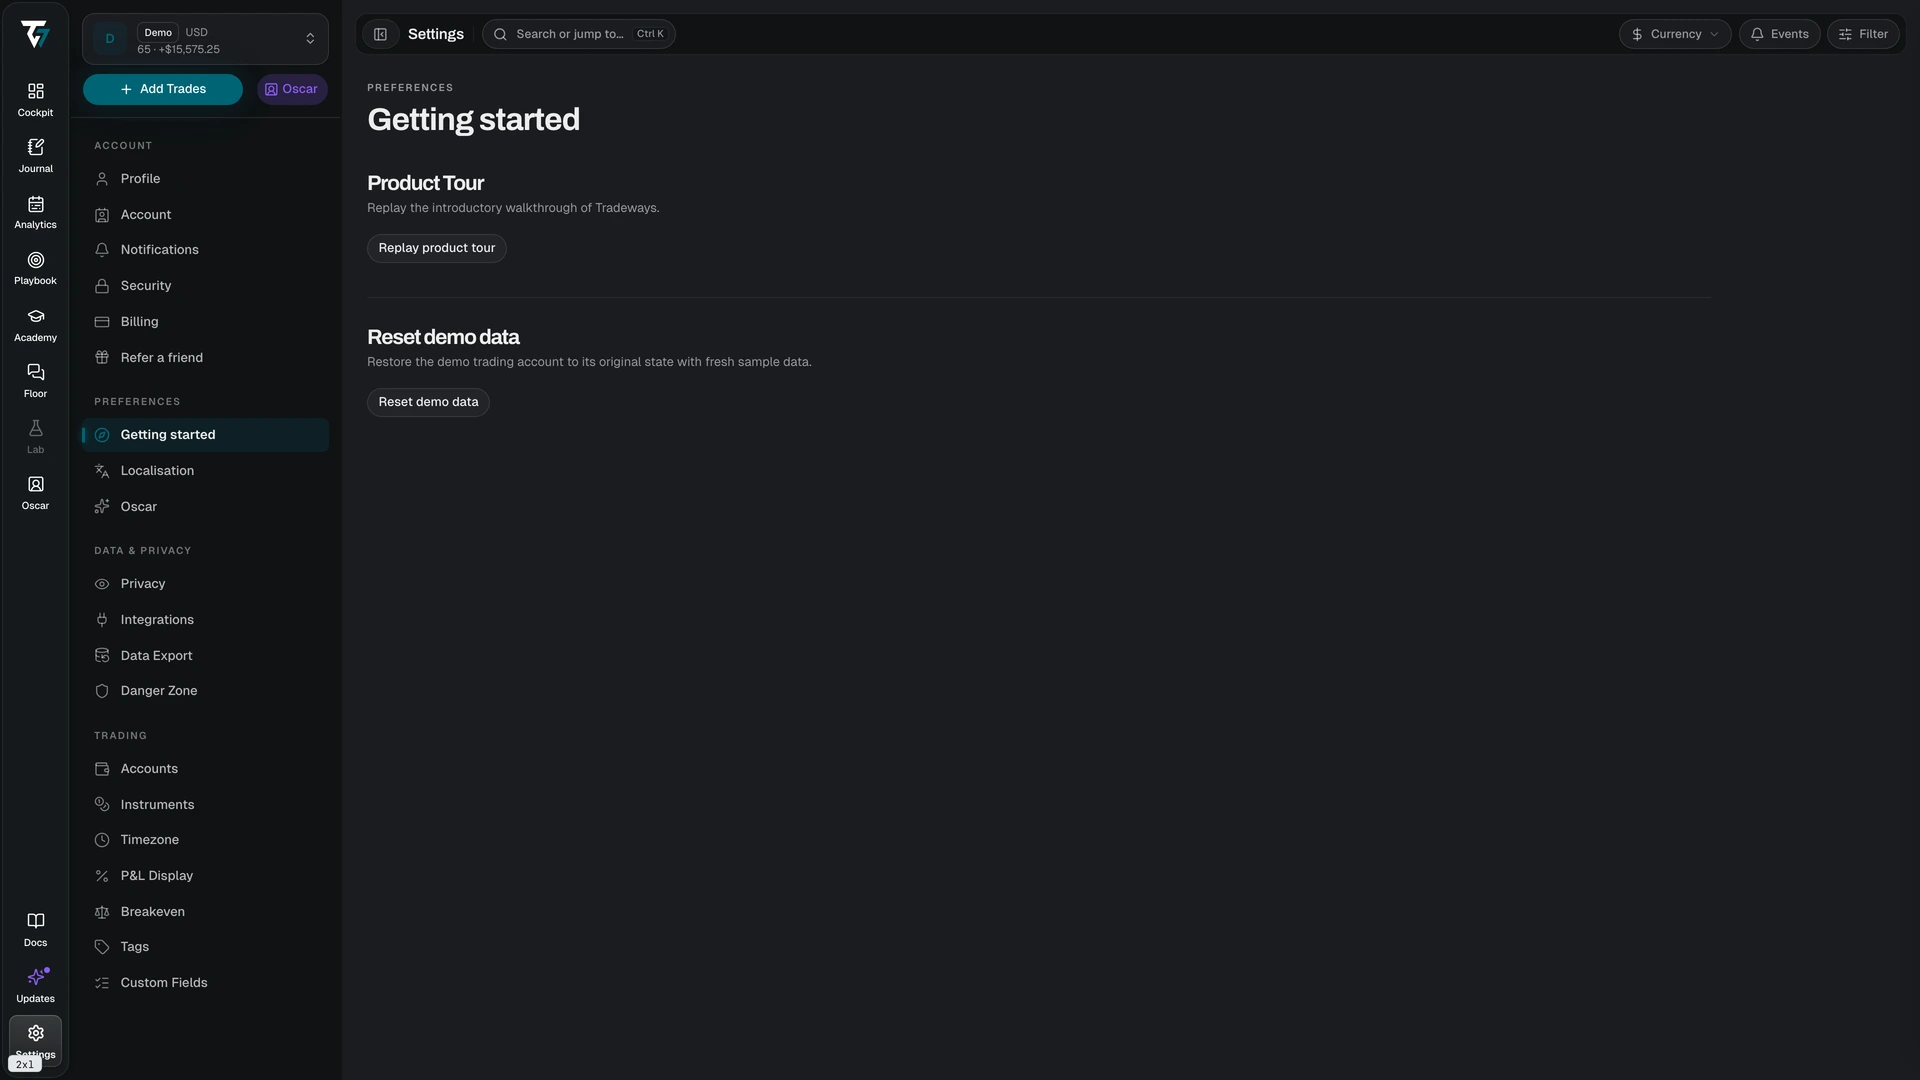
Learn the workspace
The icon rail opens each workspace. The sidebar shows the pages and records in the selected workspace. Start in Cockpit for dashboards and trades. Use the account switcher at the top of the sidebar when you add more accounts.
See Navigation for every workspace. See All Accounts before you combine results from several accounts.
Add your first trades
Select Add trades at the top of the sidebar. The panel offers three ways to add trades:
- File upload — select a broker export and review all warnings and duplicates before you confirm the import.
- Auto sync — connect a trading platform for automatic trade sync. This option is not offered in the import that opens directly after setup.
- Manual entry — record one trade from its executions.
Your dashboard, analytics, journal, and Review use the trades in the selected account.